Create products
You can create new preconfigured products in the system, and create the product configurations needed for them.
Before you start
Prepare your product setup in 10Duke Scale with care.
-
Plan your product structure, including the different product configurations needed per product if you will be issuing different kinds of licenses for the same product.
For example, for subscriptions with a tiered pricing model, you’ll configure a product with as many product configurations as the subscription product has tiers. Plan the tiers that the subscription is available in, map those to the equivalent product configurations, and establish the mapping between the business logic and license model settings.
-
Plan the naming convention for the products and features, including establishing the technical names and display names to use for products and product configurations.
It’s also important to be aware that after issuing licenses with a product, the feature and license model information in those licenses is fixed. Changes to the product won’t affect the licenses that were issued with it, and you cannot change the feature and license model information in licenses manually either. If you update your product setup and the changes also need to apply to existing licenses, you’ll need to revoke licenses and issue new ones as needed.
Create a product in the UI console
When you create a product in the UI console, you provide the basic details for the product itself and the settings for the first product configuration.
The product configuration is the part that you use to issue licenses and that contains the information on how the licenses will work.
After creating the product, you can create more product configurations as needed.
To create a new product:
-
In the left sidebar, go to LICENSING > Products.
-
Click Create new to open the form.
-
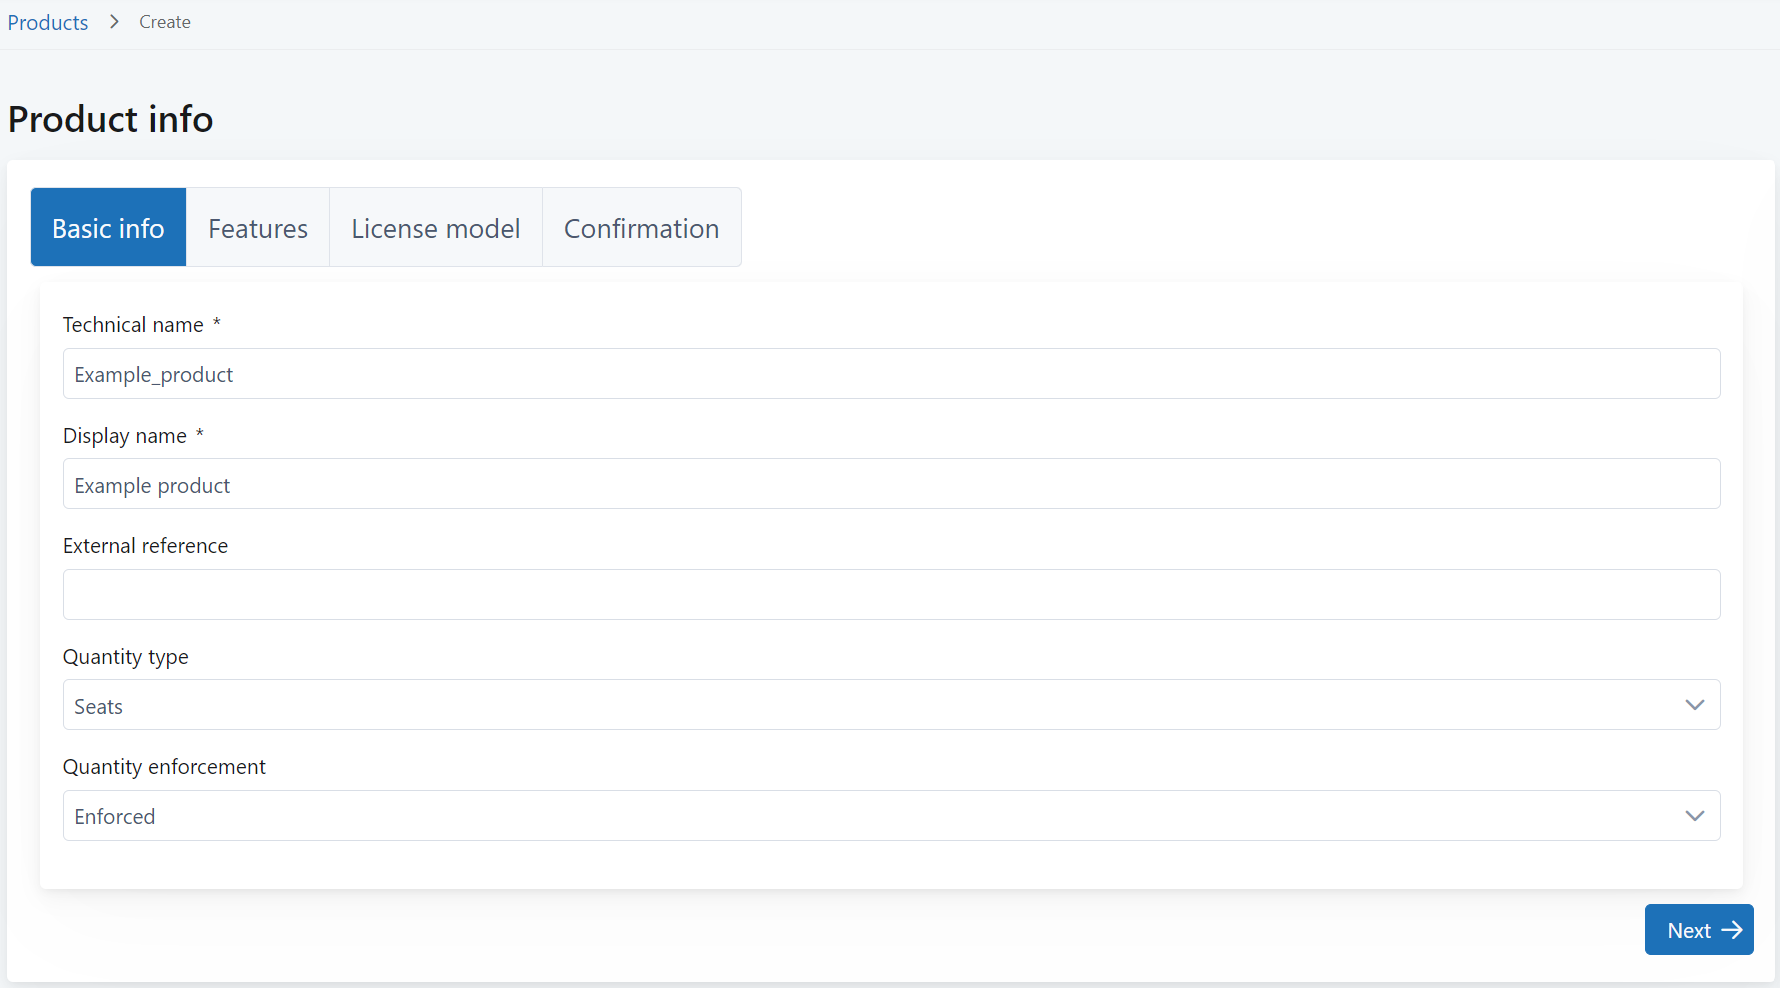
On the Basic info tab, first define the product details:
-
In Technical name and Display name, define the technical name and display name for the product. The technical name must be unique across your products.
These are also used as the technical name and display name of the first product configuration (you can change them later if needed).
-
In External reference (optional), enter the external reference ID for the product.
You can use this for integration purposes to map 10Duke Scale products to records in other systems.
-
-
Next, define the license quantity settings for the first product configuration in this product.
-
In Quantity type, select the quantity type that licenses will be based on: seats, use count, or use time.
-
In Consumption type, select whether the quantity defined in the license is the maximum limit for license consumption (Enforced) or if there’s no limit and consumption is only tracked (Metered).
See more on enforced and metered license consumption.
-
-
Click Next, and on the Features tab, define what features are included in the first product configuration.
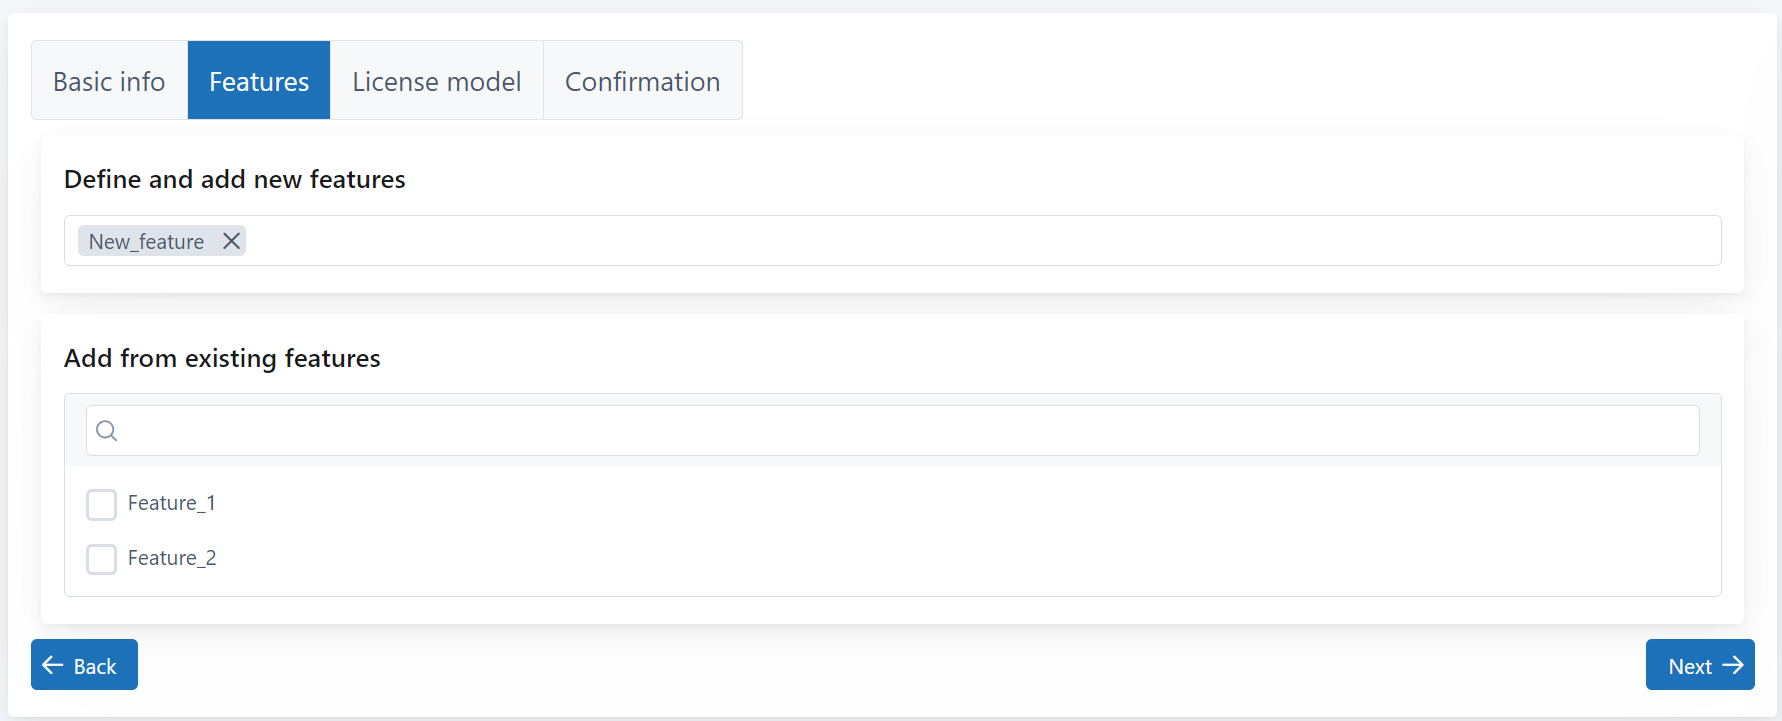
You can enter new feature names and select from existing features used in other product configurations. To enter a new name in the first field, type the name and press Enter to confirm it. (To remove a name you entered, click the small x.)
-
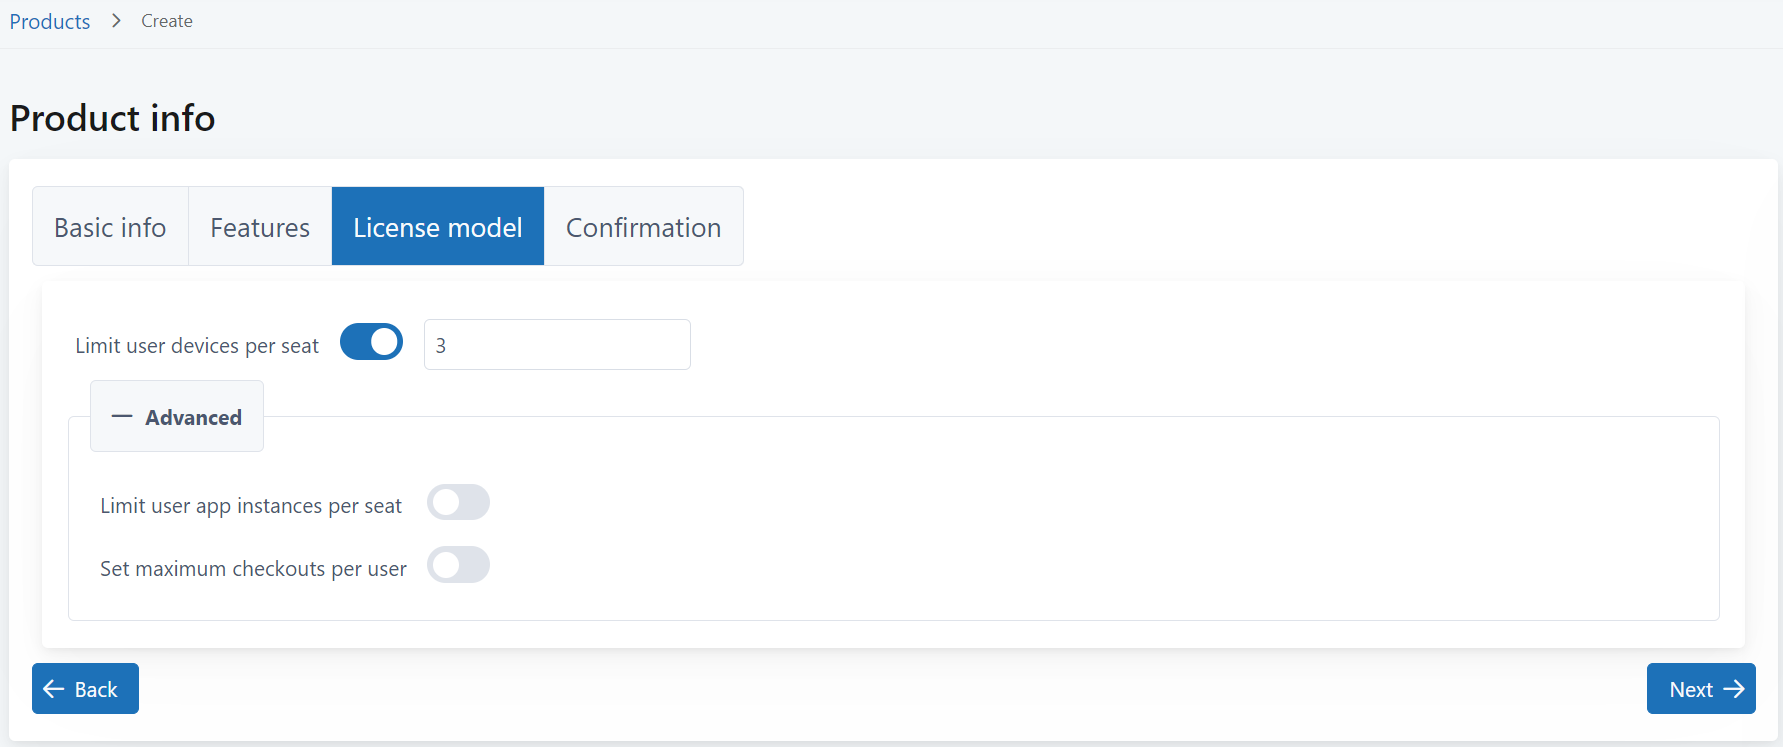
Click Next, and on the License model tab, define the license model settings for the first product configuration.
The license model defines rules on the concurrent usage of the license per user. See more about how these concurrency rules are used when the license is being consumed.
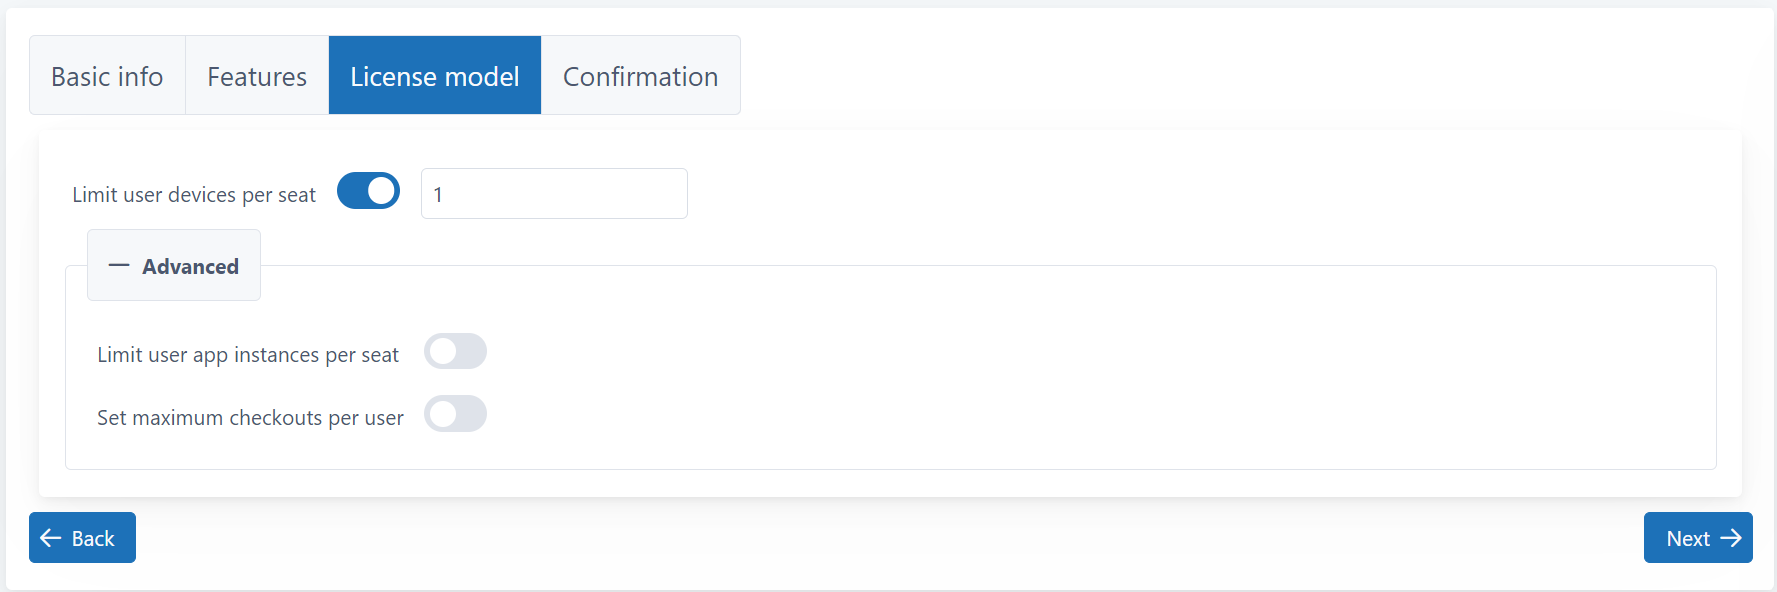
Note: Only enable either Limit user devices per seat or Limit user app instances per seat. 10Duke Scale doesn’t support applying the concurrency rule on both devices and applications at the same time.
-
In Limit user devices per seat (optional), select whether a user can run an application on multiple devices at the same time and still consume a single seat from the license.
-
If enabled, define the maximum number of devices that still consume only one seat.
-
If disabled, an unlimited number of devices are allowed per user per seat.
Concurrency is matched based on the hardware ID claim provided by the client application when the license is checked out.
-
-
In Limit user app instances per seat (optional), select whether a user can run multiple application processes at the same time and still consume a single seat from the license.
-
If enabled, define the maximum number of application processes that still consume only one seat.
-
If disabled, an unlimited number of application processes are allowed per user per seat.
Concurrency is matched based on the process ID claim provided by the client application when the license is checked out.
-
-
In Set maximum checkouts per user (optional), select whether a user can consume multiple seats from the license at the same time.
-
If enabled, define the maximum number of seats that a user can consume at the same time from one license.
-
If disabled, an unlimited number of seats are allowed per user per license.
-
See more about how concurrency rules are applied in license consumption.
-
-
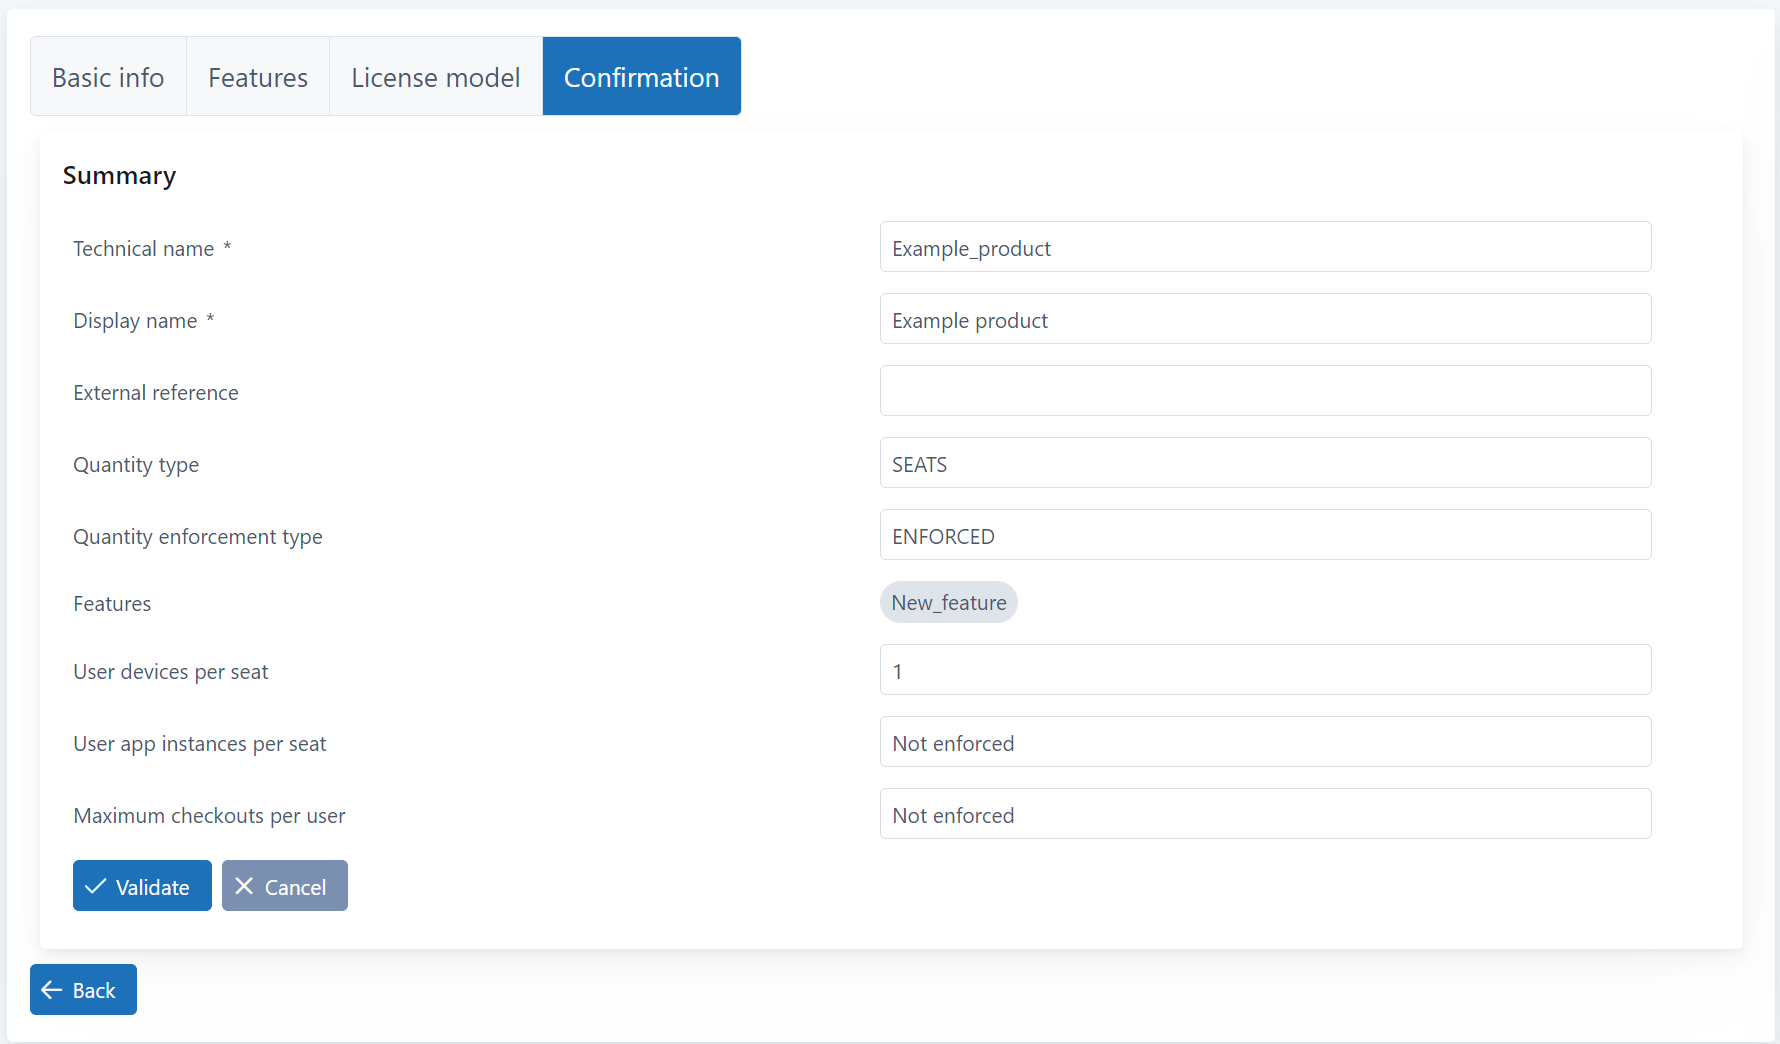
Click Next, and on the Confirmation tab, review all the settings and click Validate.
-
If the validation passes, click Save.
The product is created with one product configuration. If that product configuration also needs to have an external reference, edit the product configuration.
To create another product configuration in the product:
-
Find your new product on the product list, and click the pen icon to open it for editing.
-
In Product configurations, click Create.
-
Define the settings for the new product configuration, validate it, and save it in the same way as when you created the product.
Create a product through the API
When you create a product through the API, you can provide the basic details for the product itself and create all the product configurations needed in a single API request. You can also create product configurations separately one by one.
Use the following License Management API operations:
| Operation | URL (relative, prepend the environment base URL) |
|---|---|
| Create a new product | POST /products |
| Create a product configuration in a product | POST /products/{productId}/configurations |
Next steps
You can now issue licenses using the new product’s product configurations. You can also use them for issuing licenses with activation codes.
If you’re working on your initial setup of 10Duke Scale for licensing, see the get started for an overview of the steps needed.
Example: Netflix-like license model
10Duke Scale supports a use case where an application is being used on multiple devices while only consuming a single seat.
This example describes a B2C use case where you’re selling a 1-seat license, but you allow that seat to be consumed on 3 devices at the same time.
This enables shared usage of the license: 3 different end users could use your software application at the same time, each on their own device. Or, the same end user could have the application running on 3 different devices at the same time, for example, on their desktop, laptop, and tablet.
To achieve this, you set the product configuration to limit concurrent use to 3 devices per seat, and then grant a license with 1 seat to the customer.
In this example, the B2C customer would only have one license consumer (a user) who can access this license.
See more on how concurrency rules are applied when consuming licenses.