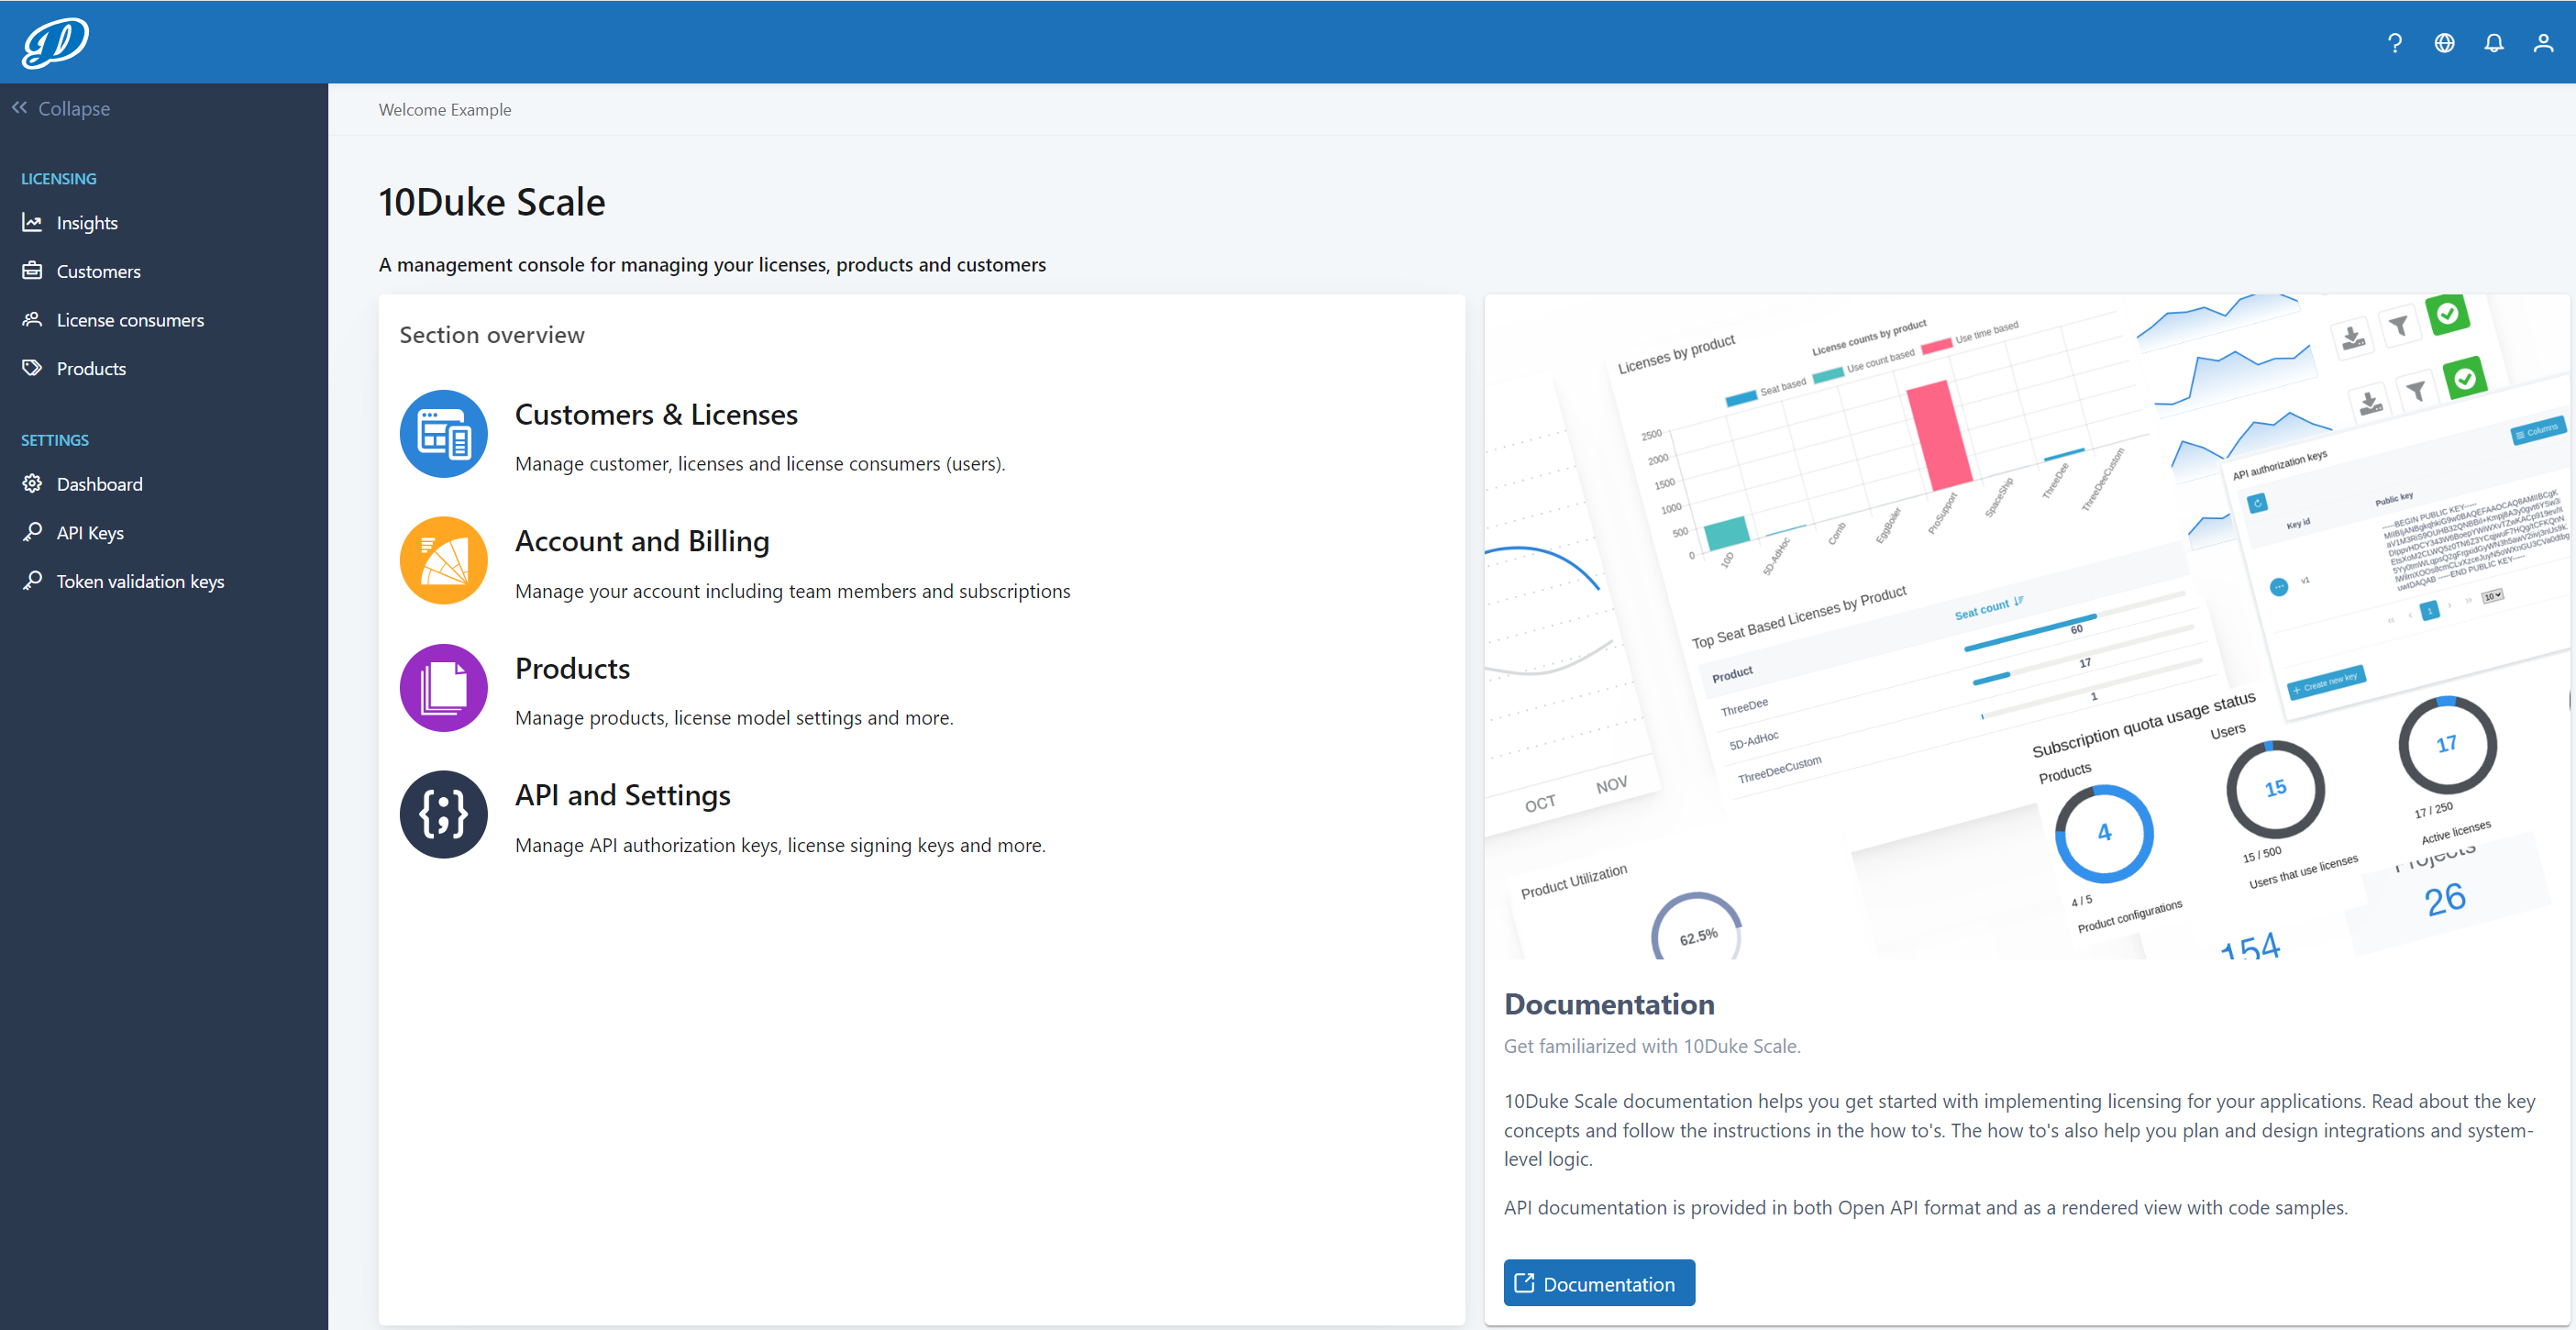
Get started with 10Duke Scale UI console
After you have signed up and you have a 10Duke Scale account, you can log in to the 10Duke Scale UI console.
In the UI console, you can set up your products, onboard your customers and issue licenses, and manage the license consumers who consume the licenses. The 10Duke Scale APIs provide full support for the actual license consumption, but in the UI console you can check out and release licenses in enforced consumption mode.
You can find instructions for the UI console features in the how-to documentation. Note that the same how-to articles also provide guidance on how to implement the features using the 10Duke Scale APIs.
Log in
-
Go to https://console.scale.10duke.com and click Log in.
This product documentation site also has a link Sign in to the Console in the header.
-
Enter your admin account’s email address and password, and click Log in.
Forgot your password?
You can request to set a new password:
-
Go to the login page and click Forgot Password?.
-
Enter the email address associated with your admin account and click Reset password.
An email with a password reset link is sent to that email address. The link is valid for one hour.
-
Click the link in the email to go to the password reset page.
-
Define a new password, enter it again to verify it, and click Set new password.
Navigate in the UI console
When you log in to the UI console, you first come to the home page.

Use the sidebar navigation on the left to access the UI console features, such as managing products or customers. You can collapse and expand the sidebar by clicking the double arrows at the top.
In the top toolbar on the right, use the profile menu to manage your own admin user profile, your account and subscription, and your admin team, and to log out from the UI console.
In addition, the top toolbar shows if you have received important updates about your account or subscription. The badge in the notifications icon displays the number of unread notifications.
The top toolbar also has options for navigating to this product documentation site, checking upcoming maintenance for 10Duke Scale, and checking the cloud service region where your account is hosted.
Browse list views
On the UI console pages that show a list of items (such as the Products and Customers pages), you usually find these common features:
-
You can select which columns to show in the table.
Click the hamburger icon above the list and select the columns you want.
-
Sort the list by column.
Click the double arrow icon next to a column title to change the sorting order.
-
Refresh the list to show the latest data.
Click the refresh button above the table. Note that this also clears your search.
-
Search the list content.
Click Find above the list. Select the field based on which you want to search in Find by, enter text in the search field, and click the find icon to update the list based on your search.
To clear the search, click the refresh button.
-
Click Load more below the list to show more items when a list has a lot of data.
-
Use the options available on the item rows:
-
Action buttons to manage the items (such as edit and delete).
-
Options in the three-dot menu to access more views and features for the particular item.
-
An arrow icon to expand the item row to view more details.
-
A button for copying the unique ID of the item for use, for example, in API requests.
-
Log out
To log out, click the profile menu in the top right corner and select Sign out.
You’re also automatically logged out after being inactive for a while.